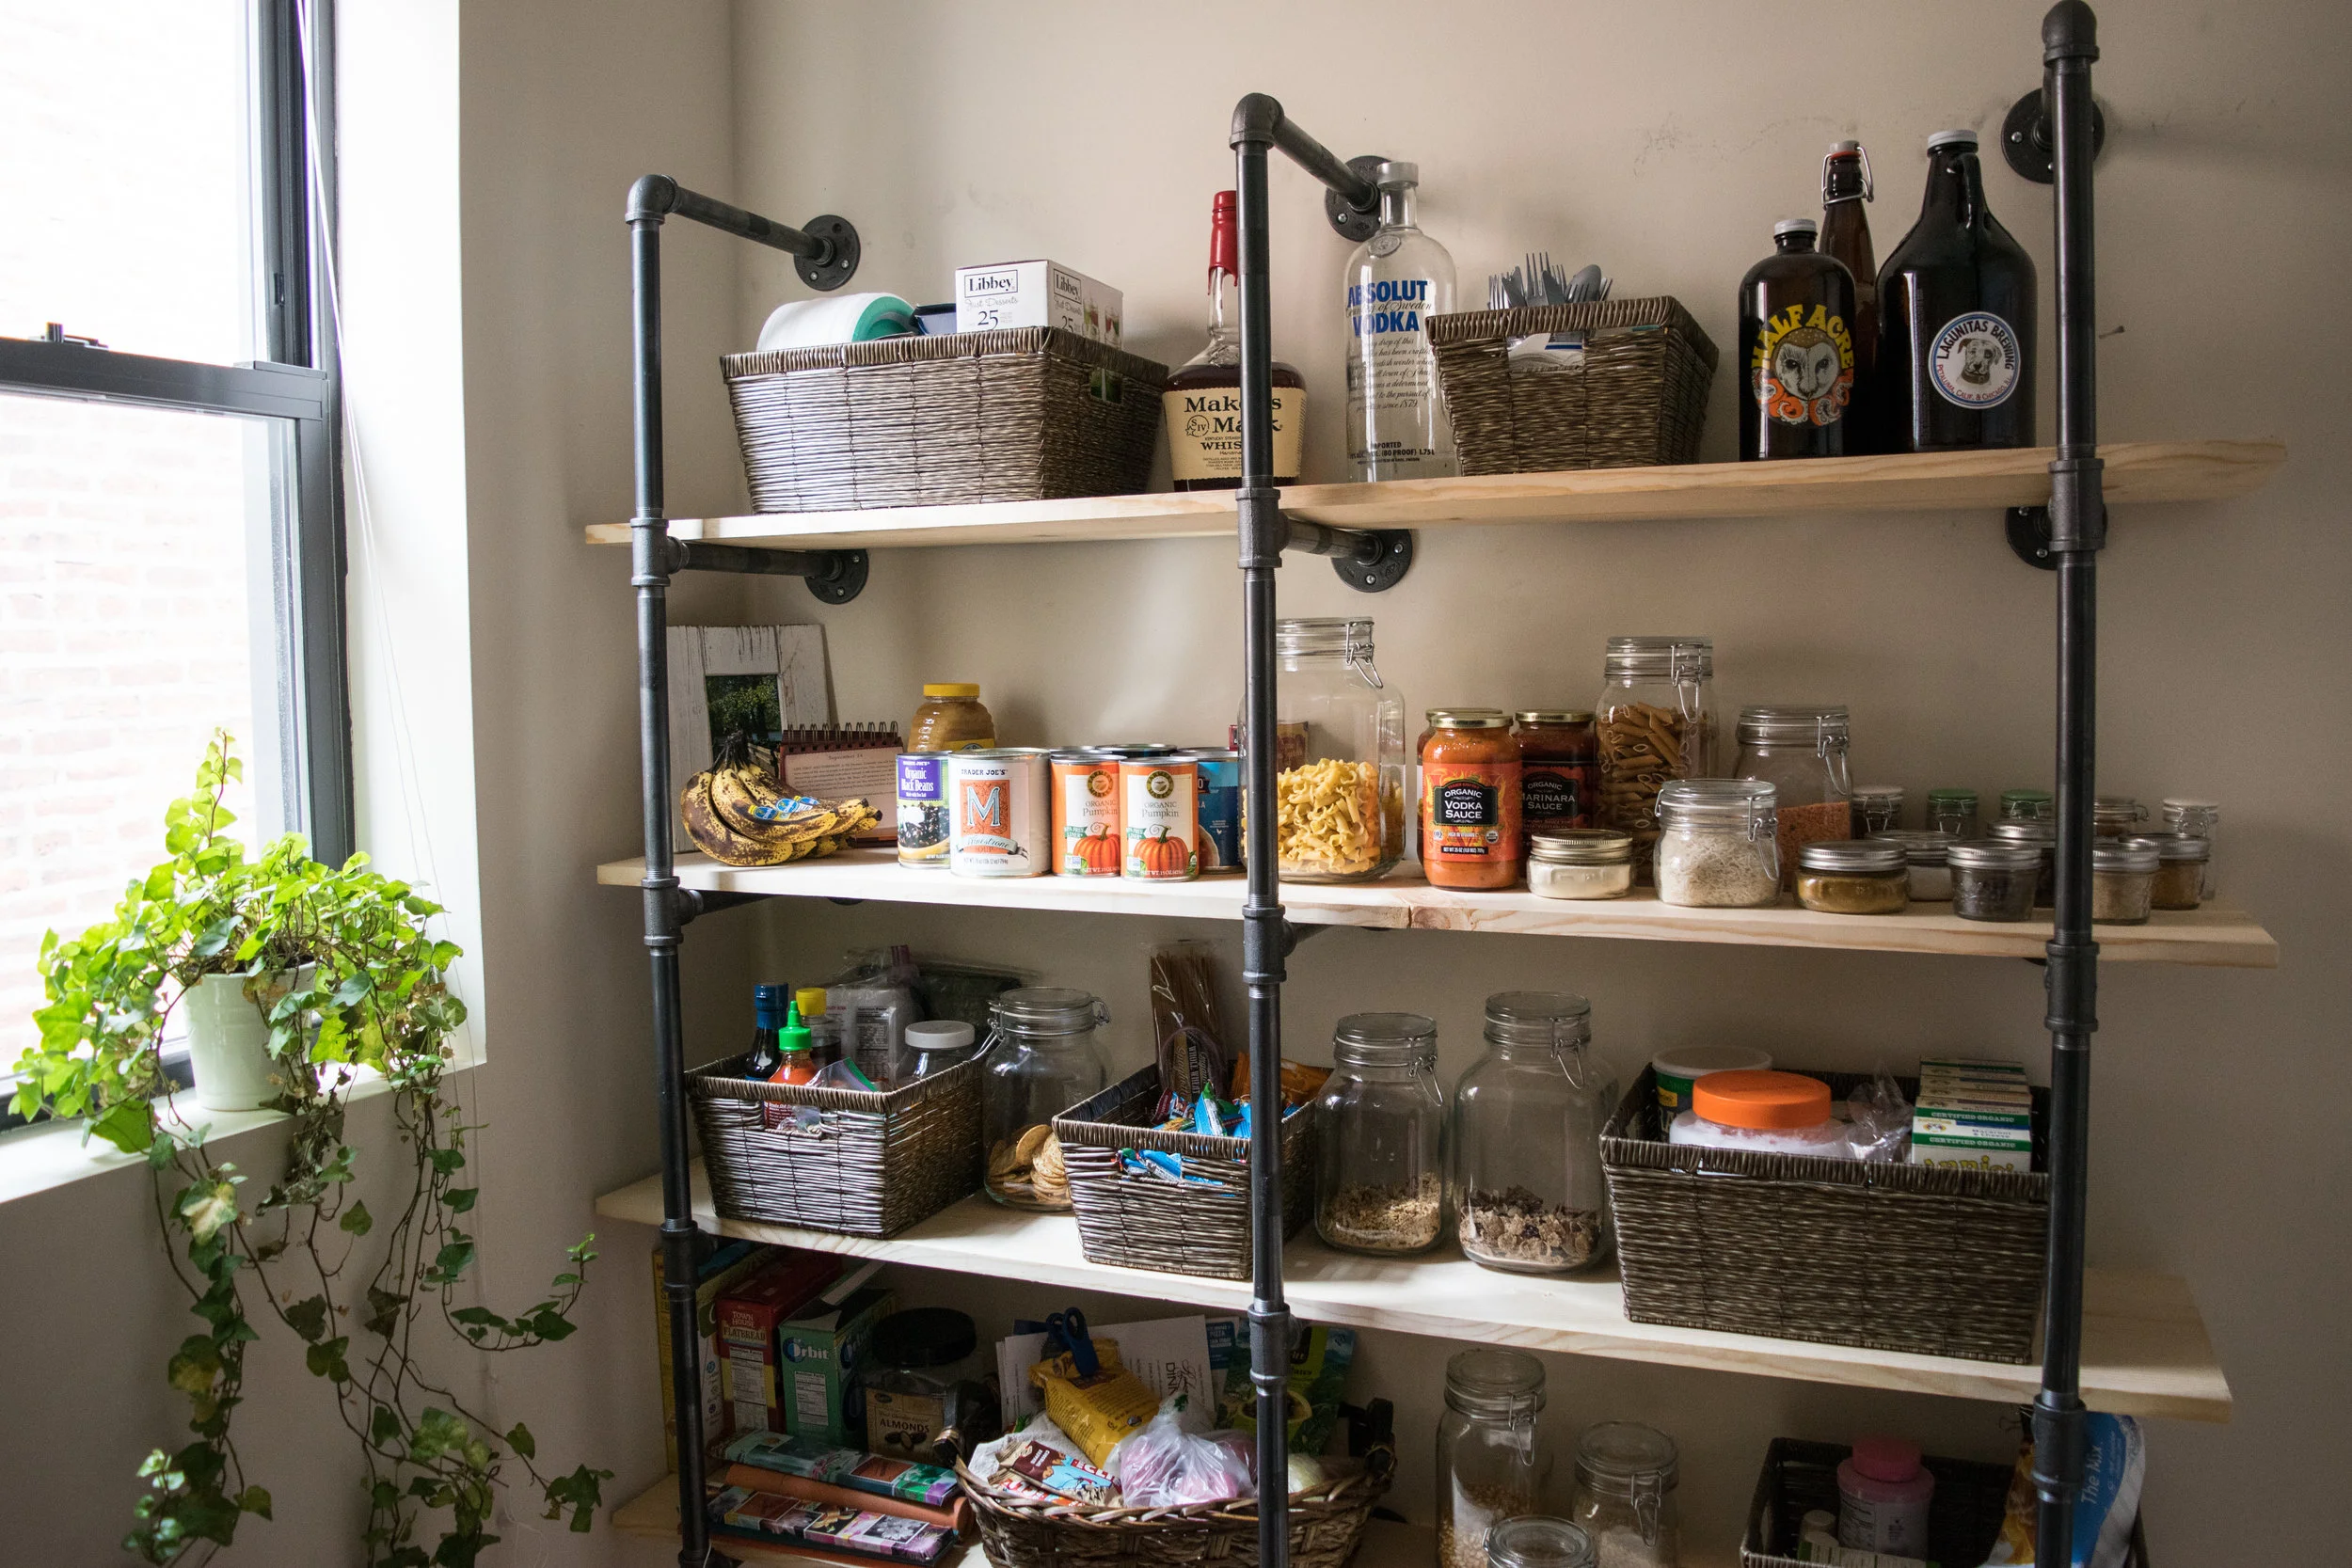
DIY Industrial Pipe Shelves
This past week we got on our "more saving, more doing" hats, rolled up our sleeves and built an industrial pipe shelving unit for our mudroom!
Daniel got a drill for his birthday and we didn't waste any time putting it to use. We've have this great little mudroom that connects to the back entryway of our apartment that has been a cluttered mess of coats, shoes and other random things ever since we moved in. Since the winter, it's only gotten worse. We used to make fun of both of our moms for having back rooms with aisles of who knows what, but we were starting to see how quickly such a space could develop!
We'll first give you the run down on how to build an industrial pipe shelving unit!
The specifications below build a 6 feet tall, 5 feet long by 1 foot deep shelving unit:
- (33) Steel Pipes (3/4" x 12")
- (18) Floor Flanges (3/4")
- (3) 90 Degree Elbows (3/4")
- (12) Threaded Tee Fittings (3/4")
- (3) Couplings (3/4")
- (74) Wall Anchors and Screws (1-1/2 in)
- Pine boards (1" x 12" x 5') - Home Depot sold these in 10ft lengths, but they cut them in the store for us for free!
- Optional: Danish Oil or Wood Finish
- Optional: 2 Hole Clamp - We ended up not utilizing the clamps but if you plan to distribute items unevenly you may want to consider adding them for greater stability. However, NOTE that if you do want to add the clamps to ensure the boards stay in place, check the clamp size in the store with the actual piping you choose. We went with the 3/4", but the 3/4" clamp actually didn't work with the 3/4" piping we selected. We bumped up to the 1" clamps and they fit our pipes.
PLEASE NOTE, as we mentioned in our previous DIY for an industrial pipe coat rack, don't be like the noobs we were and forget to wear gloves when handling the pipes in store. The piping is very greasy and will rub off on everything. We looked like a couple of car mechanics by the time we walked out of Home Depot! Don't worry, when you get home, you can soak and wash the pipes with soap and water, drying them with a rag, and this takes care of most of the grease issue. Using steel wool to scrub off grease worked really well for us.
Items linked in the images below:
Once you've gathered all your supplies, it's time to get working!
Here was our order of operations:
- Clean pipes
- Build the 3 vertical pipe frames. Each vertical frame consists from the ground up consists of: floor flange, pipe, coupling, pipe, t-fitting, pipe, t-fitting, pipe, elbow, pipe, floor (wall) flange. To complete, fit each t-fitting with a pipe and floor (wall) flange perpendicular to the vertical frame.
- Place frames against the wall, confirming frames are level with each other and each flange is plumb within each frame.
- Use a pencil to mark where the holes will be drilled into the wall to support the vertical frames.
- Check for studs in wall. If there are no studs, you will need wall anchors.
- Drill holes (hammer in anchors, if necessary)
- Screw in frames
- Lay boards across each frame (optional: 2 clamps/board)
- Step back and admire your handiwork!
Three vertical frames built and ready to mount on the wall
Surprisingly, the hardest part of this DIY project was dealing with the infrastructure of our actual building.
Although our apartment complex was rehabbed just this past year, it was originally constructed in the 1920's. With it's old age, the floors all slightly slope towards the middle of the building. On top of that, the wall itself is not perfectly flat. To combat this, we had to tighten/loosen some pipes more than others to keep everything level from frame to frame and flush with the wall. On the bottom of two of the frames, we inserted small circular strips of cardboard to account for the slope of the floor.
With these last two projects under our belts, we are definitely feeling like we earned some handy points the past couple of weeks! Stayed tuned for the full before and after pictures of our mudroom where we installed the shelves and our coat rack. It will be slightly embarrassing to share the before but the after is totally worth it!
With love from Chicago,
Daniel + Jennifer


